PGY2801C
- Electronic Still Photography Allen Cheuvront
2011 Fall B
allen@cheuvront.com
Project
1 – The Shutter
The Shutter...Exposure Control
All image capture systems, including
digital sensors and film, require a relatively precise amount of light
to be shined on them (or exposed) to create an image: Not too
much light-over exposure, nor too little-under exposure.
The "shutter" is the timing device which opens and closes to regulate
the light. When open, light enters the dark chamber where the sensor
lives, and closes to stop the light.
The "shutter
speed," combined with the "aperture" (the size of a variable opening
of the lens, measured in f/ stops) and "ISO" (the imaging sensor's sensitivity to light) adjusted to the actual level of the light falling upon the subject, form the basis of "exposure."
As one of the three primary camera exposure controls, the shutter
"speed" adjusts the amount of light hitting the imaging sensor, by
regulating the time (usually, but not always) in fractions of a second,
that the imaging light is allowed to fall on the sensor. There is an artistic aspect to the shutter spped as well: it also
affects the way that movement is rendered in the final image-
either subject or camera...
Thus a shutter speed is selected as an element of the "exposure" of your image, but it also determines how things in front of the camera changed during that exposure time.
"Fast" shutter speeds tend to stop action. "Slow" shutter speeds tend to enhance the expression of motion through blur.
For this assignment, you may use your camera's "shutter priority auto-exposure"
mode. You select a shutter speed, the camera reads the light, and sets
the correct aperture or f/stop. This mode is ideal for directly
controlling the time aspect of exposure.
|
|
5
memorable images – 50 points:
a) 2
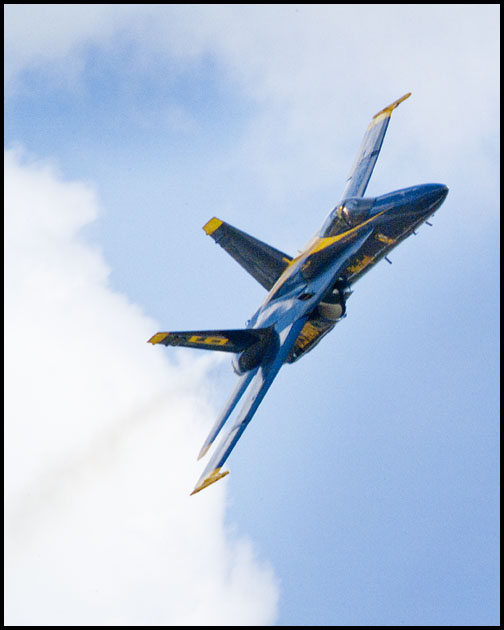
images showing a “ fast” shutter speed stopping action
b) 2
images with a very slow shutter speed expressing movement
c) 1
"panning" shot with the background blurred and the main subject sharp
Objectives:
- To illustrate your understanding of the use of the shutter to control exposure while expressing motion
- In photographs a) freeze an action- show motion stopped in these two images.
NOTE: I believe that you will need a "Stop Motion Figure" image for use
in your Photoshop class second project, introduced March 29th. Confer
with Prof. Peyton for details. You may use this for both my and
Rhonda's assignment, so put some thought and effort into the image.
- Then conversely, in b) also
capture a motion, but this time allow the shutter to stay open long
enough to show the motion in progress.
- Next, in c), use the motion of
your camera to both freeze a moving subject, and yet show the motion
of the subject in relation to the subject’s surroundings. This is called "panning."
- Use
the correct camera settings to capture photos that illustrate the
concept and/or techniques stated for each photo. Use your
textbook as
a reference, if you are not clear on the process of producing the photo.
You should check the class website often (http://www.cheuvront.com/sfc)
where you should find relevant links, which will be
updated
regularly. Besides Angel this will be the primary information resource.
Requirements
for completion of Project 1 – use the following guidelines:
SAVE and archive your original “RAW” file, (and it's associated .xmp file).
The xmp file is a text type file which records the changed you make to
image in the Adobe Camera Raw Photoshop applet. The actual RAW file CAN
NOT be changed. Only the way it displays when opened or previewed
is changed, and recorded to the xmp file. These are like a film negative. You will return to this RAW file more than once.
For example: "DSCF2159.CR2" and "DSCF2159.xmp" (you should not try to rename this RAW file or it's "sidecar.")
You will do many of your adjustments in Photoshop, so you will also save your
adjusted “DSCF2159.psd”
file , maintaining the original image serial number eg. DSCF2159.
You should append the filename to include the part of the assignment name, for
example from Project 1, shot b:
" DSCF2159_b.psd"
I will expect at least these three files to be included for each image described in your assignments. Use an underscore (_) instead of spaces in filenames, and always include the correct filename extension, eg. ".psd" for a Photoshop document.
When you have made the image look as good as possible, save A COPY of
your project. I will bring a thumb drive for you to copy files to turn in to me for the assignment Clearly
label the folder with your name and project number.
